Manual Completo para Implementación de Detección Facial
Tiempo estimado: 30-45 minutos para configuración completa
¿Qué aprenderás en este manual?
Este manual te enseñará a implementar y usar el componente web @jaak.ai/visage para detección facial en tiempo real desde cero. No necesitas conocimientos técnicos avanzados - solo sigue los pasos.
Demo en Vivo
Antes de empezar con la implementación, puedes probar el componente en funcionamiento:
¿Qué puedes hacer en el demo?
- Probar detección facial en tiempo real
- Ver el comportamiento del componente
- Verificar compatibilidad con tu dispositivo
- Hacer debug en tiempo real
Antes de Empezar - Lista de Verificación
Asegúrate de tener estos elementos listos:
- Node.js 16.0+ instalado (para proyectos npm)
- Navegador moderno (Chrome 88+, Firefox 85+, Safari 14+)
- Conexión HTTPS (requerida para acceso a cámara)
- Editor de código
- Acceso a cámara web funcional
Índice de Contenidos
| Sección | Qué harás | Tiempo |
|---|---|---|
| Paso 1 | Instalar y configurar el componente | 5 min |
| Paso 2 | Implementación básica en HTML | 15 min |
| Paso 3 | Configurar eventos correctos | 10 min |
| Paso 4 | Implementar en frameworks | 10 min |
| Paso 5 | Probar funcionamiento | 5 min |
PASO 1: Instalar y Configurar el Componente
Objetivo
Instalar el componente @jaak.ai/visage y configurar el entorno.
Métodos de Instalación
1.1 Instalación vía NPM (Recomendado)
npm install @jaak.ai/visage
1.2 Instalación vía CDN
<script type="module" src="https://unpkg.com/@jaak.ai/visage/dist/jaak-visage-webcomponent/jaak-visage-webcomponent.esm.js"></script>
1.3 Requisitos Técnicos
| Requisito | Versión | ¿Obligatorio? |
|---|---|---|
| Navegadores | Chrome 88+, Firefox 85+, Safari 14+ | Sí |
| HTTPS | Protocolo seguro | Sí (en producción) |
| JavaScript | ES2017+ | Sí |
PASO 2: Implementación Básica en HTML
Objetivo
Crear tu primera implementación funcional del componente.
2.1 HTML Completo Funcional
<!DOCTYPE html>
<html dir="ltr" lang="es">
<head>
    <meta charset="utf-8">
    <meta name="viewport" content="width=device-width, initial-scale=1.0">
    <title>JAAK Visage - Detección Facial</title>

    <script type="module" src="https://unpkg.com/@jaak.ai/visage/dist/jaak-visage-webcomponent/jaak-visage-webcomponent.esm.js"></script>

    <style>
        body {
            font-family: Arial, sans-serif;
            max-width: 800px;
            margin: 0 auto;
            padding: 20px;
        }

        .status {
            padding: 15px;
            margin: 10px 0;
            border-radius: 8px;
            background: #e3f2fd;
        }

        .status.success { background: #e8f5e8; }
        .status.error { background: #ffebee; }

        .controls {
            margin: 20px 0;
            display: flex;
            gap: 10px;
            flex-wrap: wrap;
        }

        button {
            padding: 12px 24px;
            border: none;
            border-radius: 6px;
            background: #2196f3;
            color: white;
            cursor: pointer;
        }

        button:disabled {
            background: #ccc;
            cursor: not-allowed;
        }

        jaak-visage {
            width: 100%;
            max-width: 640px;
            display: block;
            margin: 20px auto;
            border-radius: 10px;
            overflow: hidden;
        }
    </style>
</head>
<body>
    <div class="container">
        <h1>Detector Facial JAAK Visage</h1>

        <div class="status" id="statusDiv">
            <strong>Estado:</strong> <span id="statusText">Inicializando...</span>
        </div>

        <div class="controls">
            <button id="startBtn" disabled>Iniciar</button>
            <button id="stopBtn" disabled>Detener</button>
            <button id="helpBtn" disabled>Ayuda</button>
        </div>

        <jaak-visage
            id="faceDetector"
            debug="true"
            camera="auto">
        </jaak-visage>

        <div id="results" style="display: none;">
            <h3>Resultados</h3>
            <div id="captureData"></div>
        </div>
    </div>

    <script>
        // Variables globales
        let jaakVisage = null;
        let isComponentReady = false;

        // Inicializar componente correctamente
        async function initializeJaakVisage() {
            // Importante: esperar a que el componente esté definido
            await customElements.whenDefined('jaak-visage');

            jaakVisage = document.getElementById('faceDetector');

            jaakVisage.addEventListener('statusUpdated', handleStatusUpdated);
            jaakVisage.addEventListener('captureCompleted', handleCaptureCompleted);
            jaakVisage.addEventListener('error', handleError);
        }

        // Manejador correcto para statusUpdated
        function handleStatusUpdated(event) {
            const { status, message } = event.detail;
            console.log('Status actualizado:', status, message);

            if (status === 'ready' || status === 'inactive') {
                isComponentReady = true;
            } else if (status === 'active') {
                console.log('Detector activo');
            } else if (status === 'error') {
                console.error('Error:', message);
            }
        }

        function handleCaptureCompleted(event) {
            const data = event.detail;
            console.log('Captura completada:', data);
        }

        function handleError(event) {
            const error = event.detail;
            console.error(`Error: ${error.message || 'Error desconocido'}`);
        }

        async function handleStart() {
            await jaakVisage.start();
        }

        async function handleStop() {
            await jaakVisage.stop();
        }

        async function handleShowHelp() {
            await jaakVisage.showHelp();
        }

        window.addEventListener('load', initializeJaakVisage);
    </script>
</body>
</html>
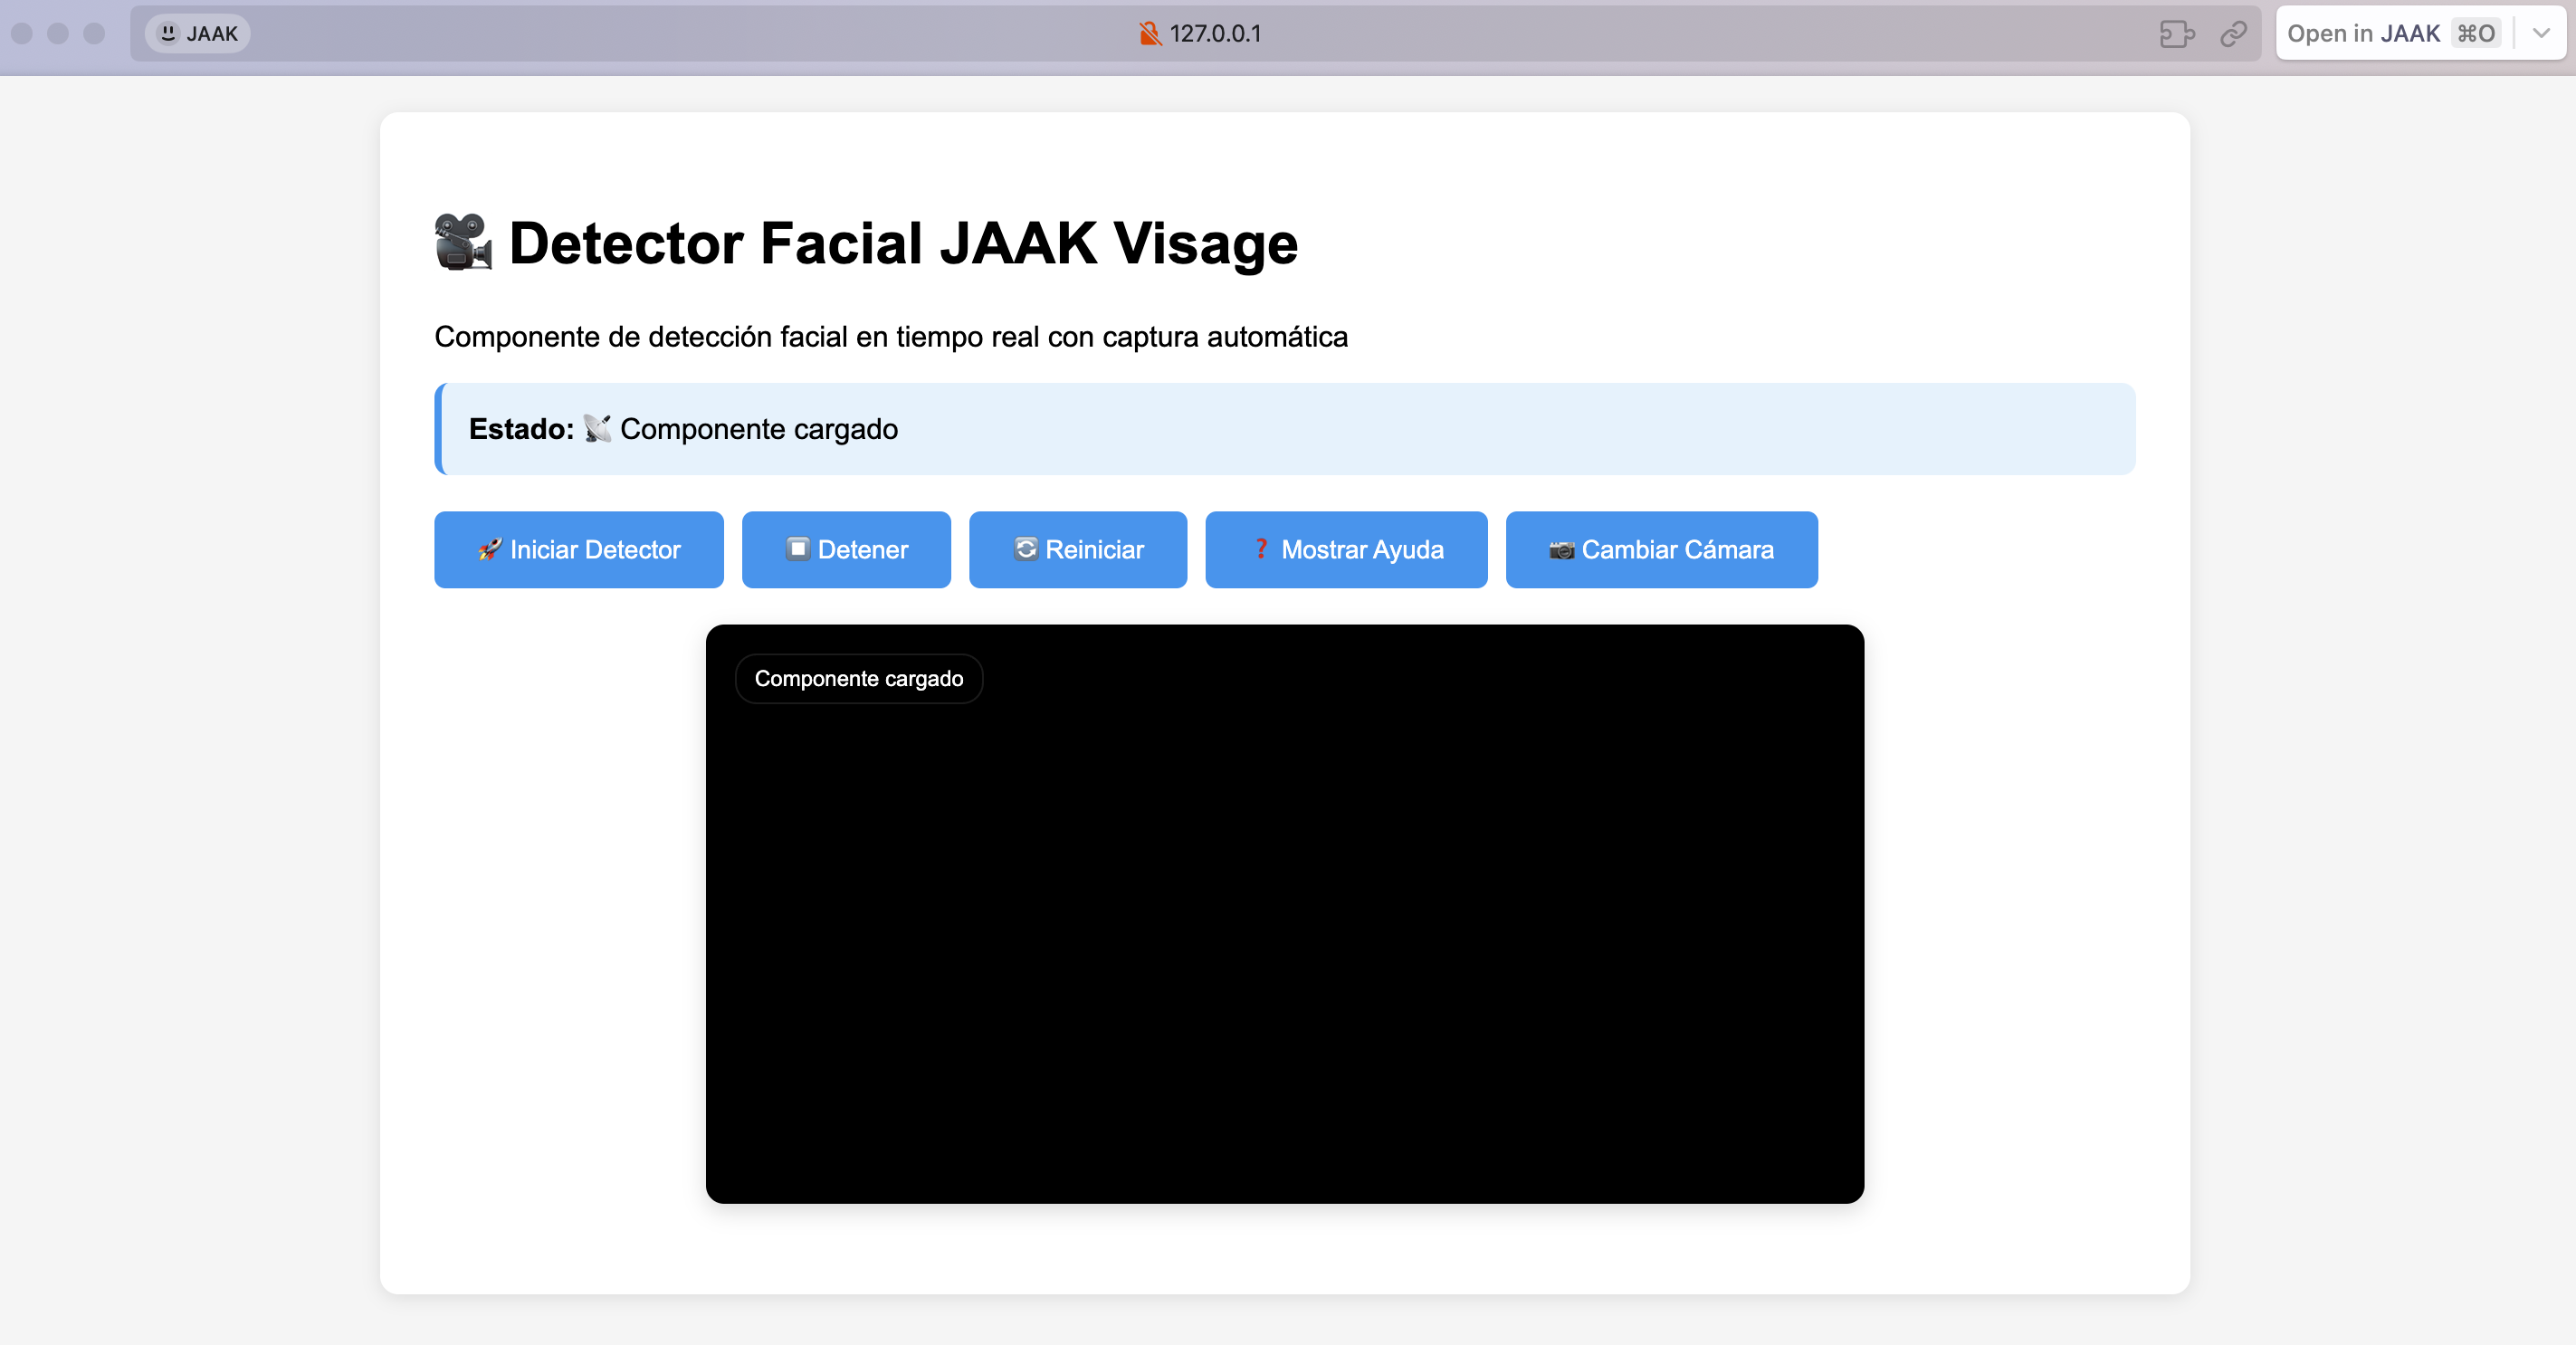
Al renderizar deberás tener una página HTML como la siguiente:
PASO 3: Configurar Eventos Correctos
Objetivo
Configurar correctamente los eventos reales que emite el componente.
Eventos Reales del Componente
3.1 Evento Principal: statusUpdated
jaakVisage.addEventListener('statusUpdated', (event) => {
    const { status, message } = event.detail;

    // Estados posibles:
    switch(status) {
        case 'ready':
        case 'inactive':
            // Componente listo para usar
            enableControls();
            break;
        case 'active':
            // Detector funcionando
            showActiveState();
            break;
        case 'error':
            // Error ocurrido
            showError(message);
            break;
    }
});
3.2 Otros Eventos Disponibles
// Captura completada
jaakVisage.addEventListener('captureCompleted', (event) => {
    const data = event.detail;
});

// Errores
jaakVisage.addEventListener('error', (event) => {
    const error = event.detail;
    console.error('Error:', error.message);
});
3.3 Inicialización Correcta
async function initializeComponent() {
    // Importante: esperar a que el componente esté definido
    await customElements.whenDefined('jaak-visage');

    const jaakVisage = document.querySelector('jaak-visage');

    // Ahora es seguro agregar event listeners
    jaakVisage.addEventListener('statusUpdated', handleStatusUpdated);
}
PASO 4: Implementar en Frameworks
React
import React, { useRef, useEffect, useState } from 'react';
import { defineCustomElements } from '@jaak.ai/visage/loader';

defineCustomElements();

const FaceDetector = () => {
    const jaakVisageRef = useRef(null);
    const [isReady, setIsReady] = useState(false);
    const [capturedData, setCapturedData] = useState(null);

    useEffect(() => {
        const initComponent = async () => {
            // Esperar a que esté definido
            await customElements.whenDefined('jaak-visage');
            const component = jaakVisageRef.current;

            component.addEventListener('statusUpdated', (event) => {
                const { status } = event.detail;
                if (status === 'ready' || status === 'inactive') {
                    setIsReady(true);
                }
            });

            component.addEventListener('captureCompleted', (event) => {
                setCapturedData(event.detail);
            });
        };

        initComponent();
    }, []);

    const handleStart = async () => {
        try {
            await jaakVisageRef.current.start();
        } catch (error) {
            console.error('Error:', error);
        }
    };

    return (
        <div>
            <h2>Detector Facial React</h2>

            <button onClick={handleStart} disabled={!isReady}>
                Iniciar
            </button>

            <jaak-visage
                ref={jaakVisageRef}
                debug="false"
                camera="auto">
            </jaak-visage>

            {capturedData && (
                <div>
                    <h3>Resultado</h3>
                    <img src={capturedData.imageData} alt="Captura" />
                </div>
            )}
        </div>
    );
};

export default FaceDetector;
Angular
// Component
import { Component, ElementRef, ViewChild, AfterViewInit } from '@angular/core';
import { defineCustomElements } from '@jaak.ai/visage/loader';

defineCustomElements();

@Component({
    selector: 'app-face-detector',
    template: `
        <div>
            <h2>Detector Facial Angular</h2>

            <button (click)="start()" [disabled]="!isReady">
                Iniciar
            </button>

            <jaak-visage #jaakVisage debug="false" camera="auto">
            </jaak-visage>

            <div *ngIf="capturedData">
                <h3>Resultado</h3>
                <img [src]="capturedData.imageData" alt="Captura">
            </div>
        </div>
    `,
    schemas: [CUSTOM_ELEMENTS_SCHEMA]
})
export class FaceDetectorComponent implements AfterViewInit {
    @ViewChild('jaakVisage') jaakVisage!: ElementRef;

    isReady = false;
    capturedData: any = null;

    async ngAfterViewInit() {
        // Esperar a que esté definido
        await customElements.whenDefined('jaak-visage');

        const component = this.jaakVisage.nativeElement;

        component.addEventListener('statusUpdated', (event: any) => {
            const { status } = event.detail;
            if (status === 'ready' || status === 'inactive') {
                this.isReady = true;
            }
        });

        component.addEventListener('captureCompleted', (event: any) => {
            this.capturedData = event.detail;
        });
    }

    async start() {
        try {
            await this.jaakVisage.nativeElement.start();
        } catch (error) {
            console.error('Error:', error);
        }
    }
}
PASO 5: Configurar Servidor Local y Probar
Objetivo
Configurar un servidor local con HTTPS para probar el componente de detección facial correctamente, ya que los navegadores requieren HTTPS para acceder a la cámara.
Métodos para Levantar Servidor Local
5.1 Opción 1: Servidor HTTP Simple con Python (Para desarrollo)
# Si tienes Python 3 instalado
python -m http.server 8000

# O con Python 2
python -m SimpleHTTPServer 8000
Luego accede a: http://localhost:8000
Importante
Esta opción funciona solo en localhost para desarrollo. Para producción necesitas HTTPS.
5.2 Opción 2: Servidor HTTPS con Live Server (VS Code)
- Instalar extensión Live Server en VS Code
- Configurar HTTPS en settings.json:
{
    "liveServer.settings.https": {
        "enable": true,
        "cert": "",
        "key": "",
        "passphrase": ""
    }
}
- Clic derecho en el archivo HTML, seleccionar "Open with Live Server"
5.3 Opción 3: Servidor HTTPS con http-server (Node.js)
# Instalar http-server globalmente
npm install -g http-server

# Generar certificados autofirmados (solo para desarrollo)
openssl req -newkey rsa:2048 -new -nodes -x509 -days 3650 -keyout key.pem -out cert.pem

# Levantar servidor HTTPS
http-server -S -C cert.pem -K key.pem -p 8443

# Acceder a: https://localhost:8443
5.4 Opción 4: Servidor con Vite (Recomendado)
# Crear package.json básico
npm init -y

# Instalar Vite
npm install --save-dev vite

# Ejecutar servidor
npm run dev
Pasos para Probar
Paso 1: Preparar el archivo
- Copia el código HTML completo del Paso 2 en un archivo llamado
index.html - Guárdalo en una carpeta vacía
Paso 2: Levantar servidor
- Abre terminal en la carpeta donde guardaste
index.html - Ejecuta uno de los métodos anteriores
- Acepta el certificado autofirmado si aparece advertencia de seguridad
Paso 3: Probar funcionalidad
- Abre la URL del servidor en tu navegador
- Acepta los permisos de cámara cuando se soliciten
- Pulsa sobre el botón "Iniciar" para comenzar la detección
- Verifica que el componente funciona correctamente
Lista de Verificación
| Elemento | Estado | Descripción |
|---|---|---|
| Servidor HTTPS | ☐ | Servidor corriendo con certificado SSL |
| Componente carga | ☐ | Elemento aparece en DOM |
| Event statusUpdated | ☐ | Se dispara correctamente |
| Permisos cámara | ☐ | Navegador solicita permisos |
| Detección facial | ☐ | Detecta y captura rostros |
Comando Rápido (Una línea)
# Para probar rápidamente (requiere Node.js)
npx http-server -S -C <(openssl req -newkey rsa:2048 -new -nodes -x509 -days 1 -keyout /dev/stdout -out /dev/stdout -subj "/CN=localhost" 2>/dev/null) -p 8443
Debug y Troubleshooting
Verificar eventos
// Interceptar todos los eventos del componente
const jaakVisage = document.querySelector('jaak-visage');
const originalDispatchEvent = jaakVisage.dispatchEvent.bind(jaakVisage);

jaakVisage.dispatchEvent = function(event) {
    console.log('Evento:', event.type, event.detail);
    return originalDispatchEvent(event);
};
Problemas comunes
| Problema | Solución |
|---|---|
| Eventos no se disparan | Usar await customElements.whenDefined('jaak-visage') |
| isReady no funciona | Cambiar a statusUpdated |
| Cámara no funciona | Verificar HTTPS y permisos |
Referencia
Métodos Principales
| Método | Descripción | Ejemplo |
|---|---|---|
| start() | Inicia el detector | await jaakVisage.start() |
| stop() | Detiene el detector | await jaakVisage.stop() |
| showHelp() | Muestra ayuda | await jaakVisage.showHelp() |
Eventos
| Evento | Datos (event.detail) | Cuándo se dispara |
|---|---|---|
| statusUpdated | {status, message} | Cambio de estado del componente |
| captureCompleted | {timestamp, confidence, imageData} | Captura exitosa |
| error | {message, code?} | Error en operación |
Propiedades
| Propiedad | Tipo | Defecto | Ejemplo |
|---|---|---|---|
| debug | boolean | false | debug="true" |
| camera | string | "auto" | camera="front" |
Solución de Problemas
Problemas Frecuentes
El componente no responde
// Solución: esperar definición
async function fixComponentIssue() {
    await customElements.whenDefined('jaak-visage');
    // Ahora es seguro usar el componente
}
Eventos no funcionan
// Incorrecto
jaakVisage.addEventListener('isReady', handler); // Este evento NO existe

// Correcto
jaakVisage.addEventListener('statusUpdated', (event) => {
    const { status } = event.detail;
    if (status === 'ready') {
        // Componente listo
    }
});
Cámara no se activa
| Causa | Solución |
|---|---|
| HTTP en producción | Usar HTTPS |
| Permisos bloqueados | Verificar configuración del navegador |
| Cámara ocupada | Cerrar otras aplicaciones |
¿Necesitas Ayuda?
Información para soporte
- Descripción del problema: Qué intentas hacer vs qué sucede
- Código relevante: Fragmentos de implementación
- Consola del navegador: Screenshots de errores
- Entorno: Navegador, versión, dispositivo
Debug avanzado
// Herramientas de debugging
function enableDebugMode() {
    const jaakVisage = document.querySelector('jaak-visage');

    // Habilitar logs
    jaakVisage.setAttribute('debug', 'true');

    // Interceptar eventos
    const events = ['statusUpdated', 'captureCompleted', 'error'];
    events.forEach(eventName => {
        jaakVisage.addEventListener(eventName, (event) => {
            console.log(`[${eventName}]:`, event.detail);
        });
    });

    // Información del sistema
    console.log('UserAgent:', navigator.userAgent);
    console.log('MediaDevices:', 'mediaDevices' in navigator);
    console.log('WebComponents:', 'customElements' in window);
}

enableDebugMode();
Has implementado exitosamente el componente de detección facial JAAK Visage con la configuración correcta de eventos y mejores prácticas.